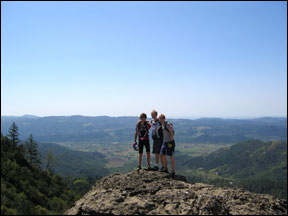
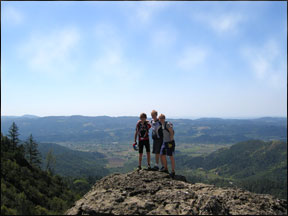
In this tutorial, we are going to combine these two photos:
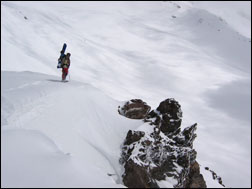
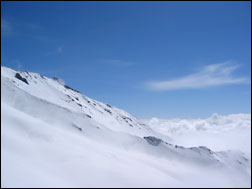
And create this photo:
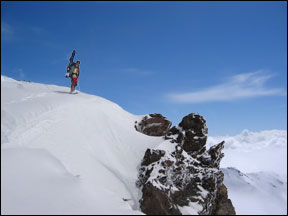
1. Adjust the Levels and Brightness and Contrast of both pictures so they are just about as similarly adjusted as possible. If you need more explanation of this visit our “Photo Touchups Tutorial.”
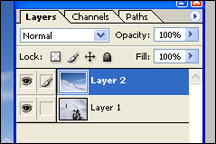
2. Then working with the photo that has the background that you want to use, Select the whole thing (Select>All), Copy the whole thing (Edit>Copy), and then working with the photo that has the foreground that you want to use, Paste the previous photo onto a new layer (Edit>Paste). Your layers menu for the for your photo should now look similar to the picture to the left. With the background photo on top of the foreground photo.
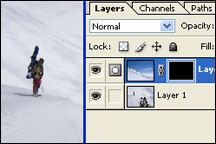
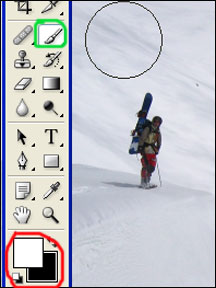
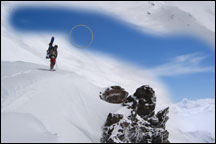
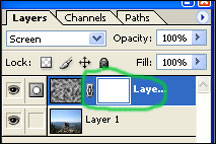
6. Then (with the mask on the upper layer selected) simply brush where you want the new background to show through. You will probably have to change brush sizes often for the more intricate places.

How to add cloud in your photo
1. Duplicate the Background Layer, (Layer>Duplicate Layer)
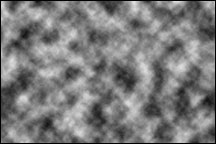
2. On the new copied layer render clouds, (Filter>Render>Clouds). Your photo will look like this on the left so don’t worry.

Add Moon inthe your photo
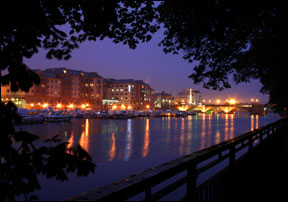
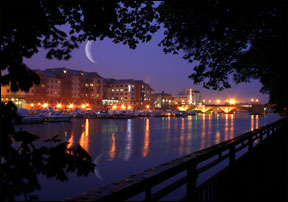
Introduction: This tutorial is to help you learn how to add a realistic looking moon to any photo. This can add a certain mystique to your favorite pictures. It also can add a little something extra to a fine art digital photo. Once you have your picture open in photoshop:
1. First of all you will need to get a photo with a realistic moon, I would recommend the one on the left which can be downloaded at: jilt33.com/supernova/luna.html
2. Then select the Rectangular Marquee Tool and select the moon you would like as shown on the left.
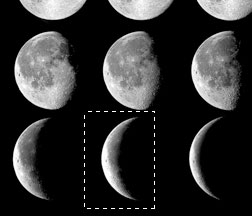
3. Once you make the selection go to Edit and select Copy (Edit>Copy). Then open the photo you are working with and go to Edit and select Paste (Edite>Paste). If the moon looks too big in the new photo you will have to crop the moon photo on the left.
4. Then move the moon to where you would like it with the Move Tool.
5. Then your photo should look something like this below. In order to get rid of the black here is what you do:
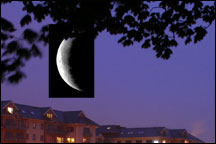
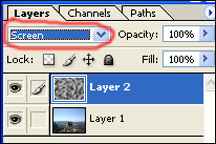
6. First of all change the Layer Blending Mode to Screen.
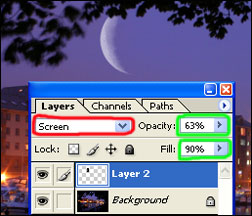
7. Then in order to make the moon look a little more realistic to this photo I lowered the opacity to 63% and the Fill to 90%. (I also erased the top to make it look like it was behind the leaves)
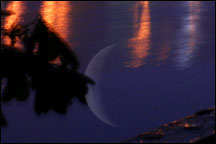
In order to make the reflection on the water I just rotated it and did almost the same steps. The only thing different was that I lowered the Opacity and Fill quite a bit more.

Comments
Post a Comment